
Setting up an email list in LeadsLeap is a quick and straightforward process that allows you to store the contact information of your subscribers. When individuals fill out your Lead Capture Form, their details will be saved in this list.
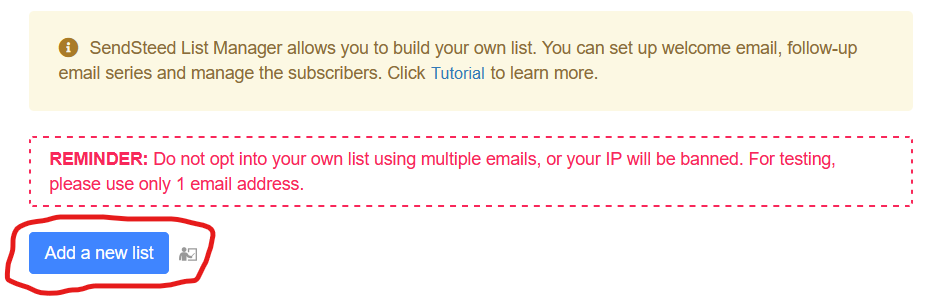
Begin by clicking on LIST MANAGER in the main menu. Then, select the Add A New List button.
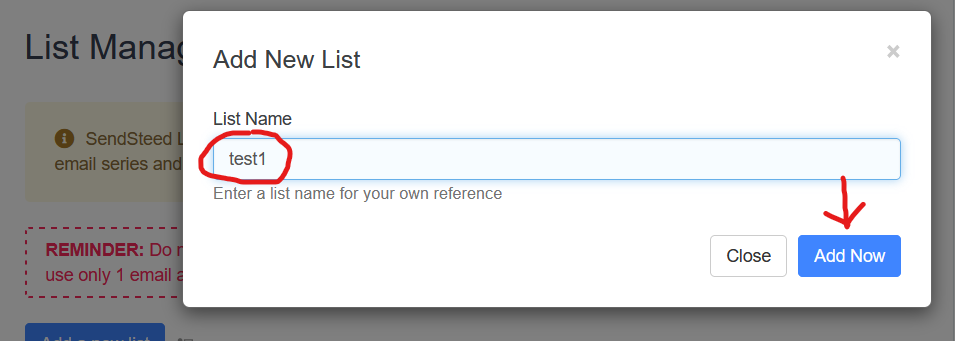
In the pop-up window, assign a name to your list. It's advisable to use the same name as the capture page that will be linked to this list for easy identification.
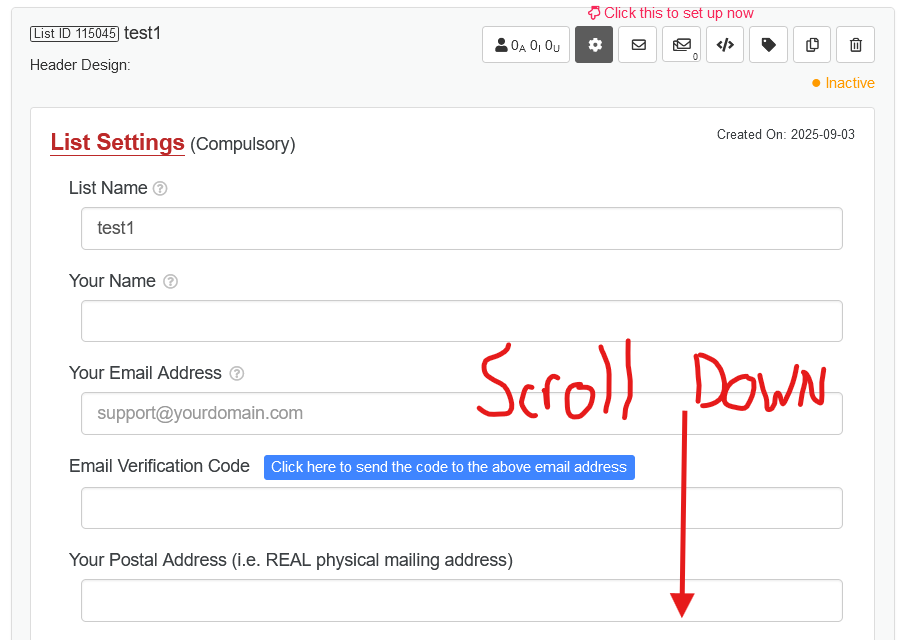
Once you've created the list, it must be activated. Click on the small cog icon located under the red text to proceed.

To activate the list, fill out the list customization form with your details. You will also need to provide and confirm an email address where your subscribers can reach you.
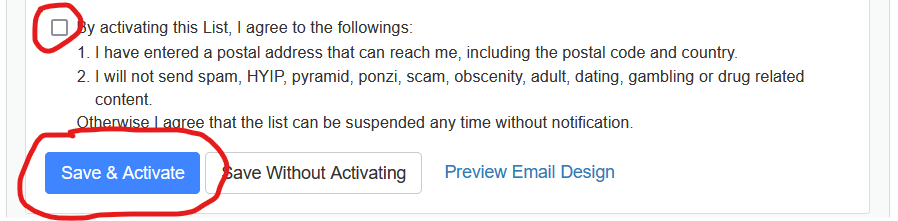
After completing the form, check the box to agree to the terms of use, and then click the SAVE AND ACTIVATE button at the bottom of the form.
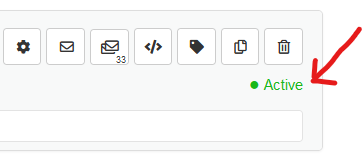
Your list should now display as active, indicating that it is ready for use.
Powered by ViralHosts.com